Yes, it is true, I had to give up being a demonstrator. I moved and have been traveling quite a bit and have not met many people. So, due to family circumstances, I had to give being a demonstrator. I still LOVE Stampin' Up!
I would like to take this time to THANK all my friends and customers who supported me all these years by attending classes, participating in the hostess clubs, placing orders and just being there for me! I cannot thank you ALL enough...it was fun while it lasted and I met many incredible people!
I am working on removing all sidebars related to SU!
Thanks again for everyones support and understanding of my decision. Good Luck!
Wednesday, February 19, 2014

Wednesday, March 27, 2013
Sailboat Baby Card

I think I have rec'd 3 baby shower invites THIS month! I have not rec'd three all last year. Guess there is something in the water.....sailboats!!
So the theme is Sailboats on 2 of them. I made this one for a cousin in Houston. Was not sure what her theme was because I lost the invite. Since the other two were sailboats, I figured I would make hers a sailboat card too. She is having a boy also. I used a retired stamp set, but it is Stampin' Up! and am so glad that I did not sale this set. I have used it alot this week.
One of our neighbors daughter is having a baby shower and I am making all the decorations, treats and gifts for her in this theme. I will be posting those soon.
Tuesday, March 26, 2013
Simple Card

Again, I saw a very similar card on Pinterest. Don't you just LOVE Pinterest!! It was done a little different. Different saying, colors, but basically the same card. I wish I would have pinned it, but I saw it and thought, I can make that using Stampin' Up! Products....so I did!!
Monday, March 25, 2013
Birthday Gift for Melissa


I made this cute little treat holder from the Simply Sent kit from Sale-a-bration. I know Sale-a-bration is over, but I had not shared this yet. This was a birthday gift for Melissa. The heart on the front is a pin that she can take off and wear. When I was at Leadership in January, a friend, Maria Getz made me one and I just had to CASE it. Thanks Maria!!
Here is another view of the box. I was trying to get a picture of how I put the pin on. I found how to make the box on Pinterest and I will to ck to see who it was that made it, but I think her name is Connie Collins? I will edit this when I find out what her name is for sure.

This is what was inside the treat box.
Friday, March 15, 2013
Only One Week Left AND a NEW Stamp Set!!
Just a reminder that you that there's only one week left remaining during Sale-a-Bration where you can get a FREE item for every $50 you order. beginning today! It's super cute and coordinates beautifully with the new 7/8" scallop circle punch. AND, if you buy them together, you can save 15%!!! This stamp set will be in the new 2013-2014 Annual Catalog, but they thought you might like to get it early.
Spring Surprise Bundle (Clear Mount only) 133899 - $23,95 both the stamp set and punch
A Round Array Stamp Set (Clear Mount Only) 12909 $14.95 - stamp set only

*Note - this stamp set is
currently only available in Clear Mount.
It will be available in Wood Mount in the 2013-2014 Annual Catalog. |
Owl Always Be Your Friend

I LOVE OWLS!
So, when Gina Dygert gave me this beautiful framed art at my birthday celebration, I was so happy!! She made one for everyone attending the celebration, which was about 10 people. I feel honored to have one of her handcrafted gifts. She is very talented and is meticulous when making anything. You can tell by this beautiful piece of art. THANK YOU Gina! I love it and will find a special place in my new craft room for it and will think of you everytime I see it.
Thursday, March 14, 2013
My Collection of Owls

For some reason, I have gotten into this Owl craze. We (some of my downline & I) went shopping in Richmond, Va and there were owls EVERYWHERE!!
So, while here in Williamsburg for Girl's Week, I decided to make a few different owls. Here they are. I'm not quite finished. I have a few more I want to make, but I was just playing around with the supplies I had on the table at the time.
The big owl was made the first day here. The little ones were made 3rd night here and the fabric one, well we won't even talk about that one You can read more about that owl in the previous post. Ok, so I"m not a sewer. Don't laugh!
Tuesday, March 12, 2013
My Attempt at Sewing an Owl! Bwahahaha!

Fabric, buttons, ric rack, and decorative trim that I bought yesterday to make an owl. It's Girl's Week in Williamsburg. We have had a great time. Talking, stamping, shopping and now we are trying to sew. Well I'm trying, Patty is succeeding!


She looks funny! This owl DID NOT come out like I thought it would. Side view looks a little better. The ruffle was just a little too long. Well there is more than that wrong with this owl, but won't go there. I think the main problem was that I did NOT have a pattern. Let's just say she is whimsical. Yea, that sounds better. Ok, I will stick to stamping and try not to sew again!!
Monday, March 11, 2013
Chalk Board Technique Cards
 |
| Norma's card |
 |
| Melissa's card |
These are two cards that we made at our every other Friday Shoebox swap. They are made using the chalk board technique and each one was done differently. I cased a card from Pinterest. My technique was where you use the embossing buddy and rub it over your area you are going to stamp. Use whisper white craft ink and stamp your image. Then you put white embossing powder on your image. Tap off any excess powder and then heat emboss the image. Once that is done, take a paper towel and dab it in your whisper white craft ink. Next rub it over your image so that is looks chalky like a chalk board.
The other card was made by Melissa Ellis. Her technique was where you stamp your image in whisper white on the black cardstock. Once that dries use a piece of chalk, lay it on its side and rub it over your stamp image. Next, use the retired watercolor white pencil and draw your lines around the stamped image.
I like both techniques, but I think Melissa's technique she used was quicker.
Sunday, March 10, 2013
Spring Time Framed Art

Had a birthday celebration to attend and we all had to make one gift. This is what I chose to do. I made this framed art (w/o the glass so it could stand out 3D style) which was very similar to something I saw on Pinterest. Of course, whoever did the one I saw, did a lot more work than I did. She did about 24 rectangles, but I only did 9 since I was crushed for time. I like the way it came out.

Here is the "card" that I made for the gift above. It did not match the framed art, but it was quick and easy. I put it on a tin and there was Starbucks gift card inside.
I must say with the selling of our house, we have been extremely busy. We were very fortunate to have sold the house to the first person that looked at it!! But now we are going through all the motions. Home inspection - check, pool inspection - check, buyer to sell his house - check, now we are waiting for the appraisal and if that goes well, we should close on April 15. Yea!! So still alot to do before we pack out and move.
I don't know how much I will be able to blog, but I am going to try and continue to blog as much as I can.
Thanks for looking!
Thursday, March 7, 2013
Birthday Gift


This was a birthday gift from Melissa Ellis. I LOVE it!! Melissa is our Inky Angels Leader and she is one of the girls in my bi-weekly group. She used an old CD case and made this cut calendar. Who can't use a calendar?!! Thanks Melissa! I'm gonna miss stamping with all those girls when I move to TX. I will need to find me some stamping friends in the Austin area.
Tuesday, March 5, 2013
Banner Card
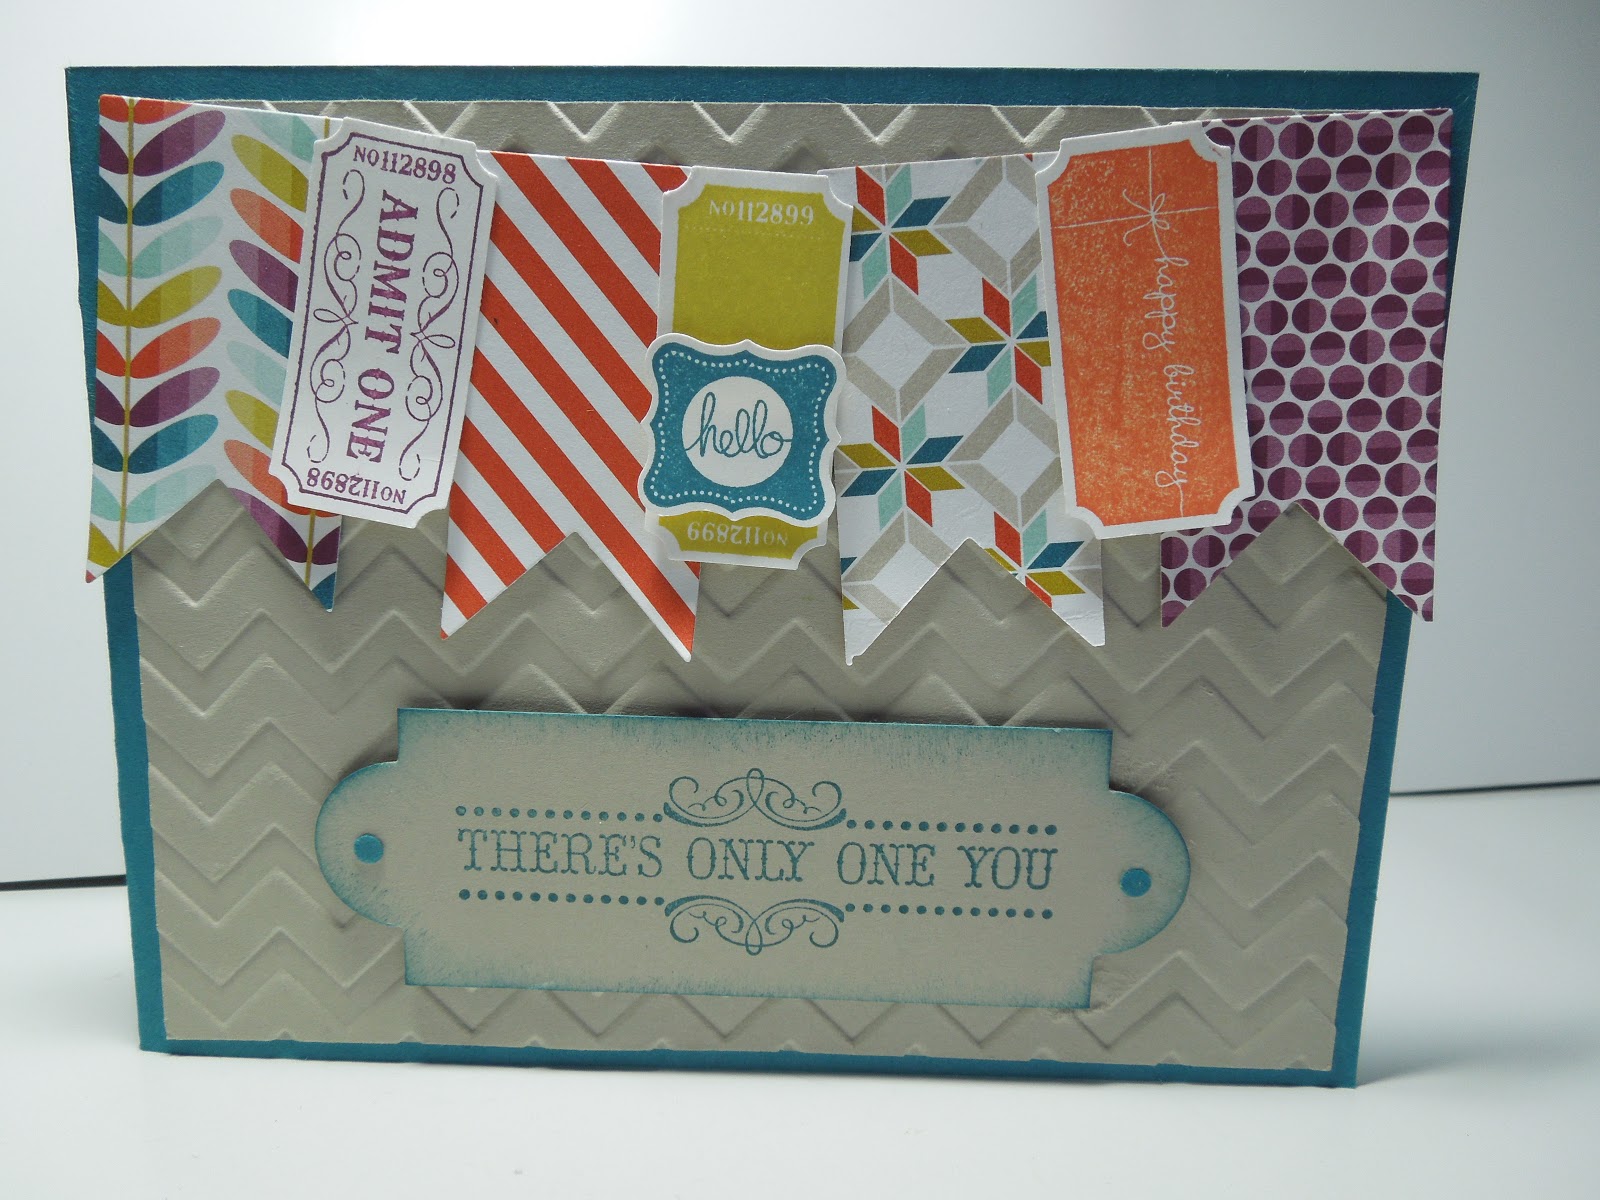
This was a card that I made at the Hostess Club in Feb. I used the Sycamore DSP from the Sale-a-bration brochure. Remember you only have until March 22, 2013 to still be able to take advantage of Sale-a-bration! Contact me at jnrsjones@cox.net if you would like to place an order or learn more about Sale-a-bration.
Monday, March 4, 2013
Congrats from my Upline!

This card was made by Colleen Magness. She is my upline and mailed it to me for being one of the Top 5 in Sales in her group for the month. I love how she used the Sizzix Tasteful Trim Bigz Die from Stampin' Up for her card. Thanks Colleen!
Monday, February 25, 2013
Too Busy To Blog!!
Just a quick blog post to let everyone know that I am super busy trying to get my house ready to go on the market to sell. I am not having much time for stamping.
I do have a hostess club Friday night, so I should have time to take pictures of those cards/projects and should be posting soon. So please check back. Until then, here is a picture of a card that I really like and found on pinterest.

It is from Ann's Creative Moments. She even has a tutorial on how to make it!! Love it!
Tuesday, February 19, 2013
Stampin' Up! Framed Art

What do you do with a frame you have had for years? Well, I made a little framed art creation.
This frame was in a drawer that I was cleaning out. I really had forgotten I had it. Now I wish I had another one.
I took the glass out so that the butterflies could stick out more 3-D type effect. The brad is from Stampin' Up! 2013 Spring Catalog. I have made several keychains from them, but thought I would use it on this little framed art. I love those brads.
I enjoyed making it! Let me know what you think!
Happy Stampin'!
Monday, February 18, 2013
Designer Builder Brad Keychains

Not the best picture, but at least I am remembering to take quick pictures of the the gifts I am making. These for the Feb Birthdays. I saw the packaging idea on pinterest. My others one I made I used tins, but these two I tried doing something a little different. I like them and hope the people that received them liked them too!
I also use the doilies and flower trim from the Stampin' Up! Spring catalog. The paper is the FREE Sycamore Street DSP from Sale-a-bration. If you want to know how you can get your FREE DSP send me an email jnrsjones@cox.net
Sunday, February 17, 2013
Brown Bird Cage


This bird cage acutally has two little birds in it! This is the last of Liz's creations. Like I have said she has done an amazing job on these! Thanks Liz!
I believe she said she bought the little bird cages at that big box craft store..the M one. All other crafting products used are Stampin' Up!
Saturday, February 16, 2013
Red Bird Cage


Here is another one of Liz's creations. This one is so pretty, the pictures do not do it justice. We celebrated Feb birthdays at our shoebox swap and this is what she made for one of the girls.
Friday, February 15, 2013
Birthday Gift


My friend, Liz Velazquez, gave me this little altered bird cage. Isn't it adorable?! I just love it! She knows me well! Thanks so much Liz. Here is a link to her blog. She has others posted on there and I will post her other creations tomorrow on my blog. She does some great work!
Tuesday, February 12, 2013
Bunny Tutorial
I have rec'd a few request for a tutorial on how to make this bunny.


I used a 4x4 coaster and a piece of 4x4 Pool Party Cardstock.

After I glued the cardstock on, I trimmed the edges.

I used the Oval Collection Framelits. The 3 smallest ones.

I ran the pink ovals through the Perfect Polka Dots Folder and then sponged in Prettty in Pink around the the edges.

Then glued the bunny face to the coaster making sure that part of the head and ears were just hanging off the coaster. I like that look, but some of you might not and she does fit directly on the coaster if you want to change it up.

This is what the back looks like before I cut off the pieces that hang over the edge.

Here is the back with one side cut off.

Here is the front with the pieces that I cut off and what she looks like before I start putting one her face.

Use the label punch and cut it in half. Then trim the little points so that they do not stick out when you place the words on top.

Stamp a sentiment on whisper white cardstock and punch with the decorative label punch. Sponge the edges.

Glue the pretty in pink cut pieces of decorative label on the sides behind the whisper white sentiment.
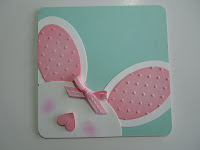
Start putting your face on! Punch a heart from the small heart punch and sponge it. Cut a dimensional in half and place behind the heart. Place the heart upside down for the nose. Sponge the cheeks. Then I just used the black marker for the eyes and white gel pen for the eye balls.

Voila, a bunny peeking out from the side! I think she is so cute. She really is easy to make. Now to make a boy bunny, a chocolate bunny and then of course some other spring time animals peeking out the side....like a duck, chick, etc. The possibilities are endless!
If you make any, please share on here! Enjoy!
My first real picturorial (is that a word?) and I really apologize for the different colors of fonts and all. It was not cooperating, but I figured getting up was more important than having all that perfect. I tried, but would not not underscore or change the color on some. Not sure why? I am not good at this, but am trying. I also know I put alot of steps for this simple project, but you never know if there are beginners or experienced crafters looking. So, better to have too many steps than not enough.
Ok, give me your feedback. Do you like it? Too long? How I can make it better? Tell me so I know what to do next or if even to make another tutorial???
So, I have put together a picture tutorial in hopes that it will help some of you. If you have any other question, please feel free to leave a comment and I will try to answer your question(s).
These are the supplies I used. Ovals Collection Frames #129381
Perfect Polka Dots Folder # 117335
Decorative Label Punch #120907
Cardstock - Pool Party, Pretty in Pink and Whisper White
Perfect Polka Dots Folder # 117335
Decorative Label Punch #120907
Cardstock - Pool Party, Pretty in Pink and Whisper White
Inks - Pretty in Pink (for sponging and cheeks) and Regal Rose (words)
Small Heart #117193 for nose Ribbon for bow. Black marker for eyes and whiskers. White gel pen for eye balls. 
I used a 4x4 coaster and a piece of 4x4 Pool Party Cardstock.
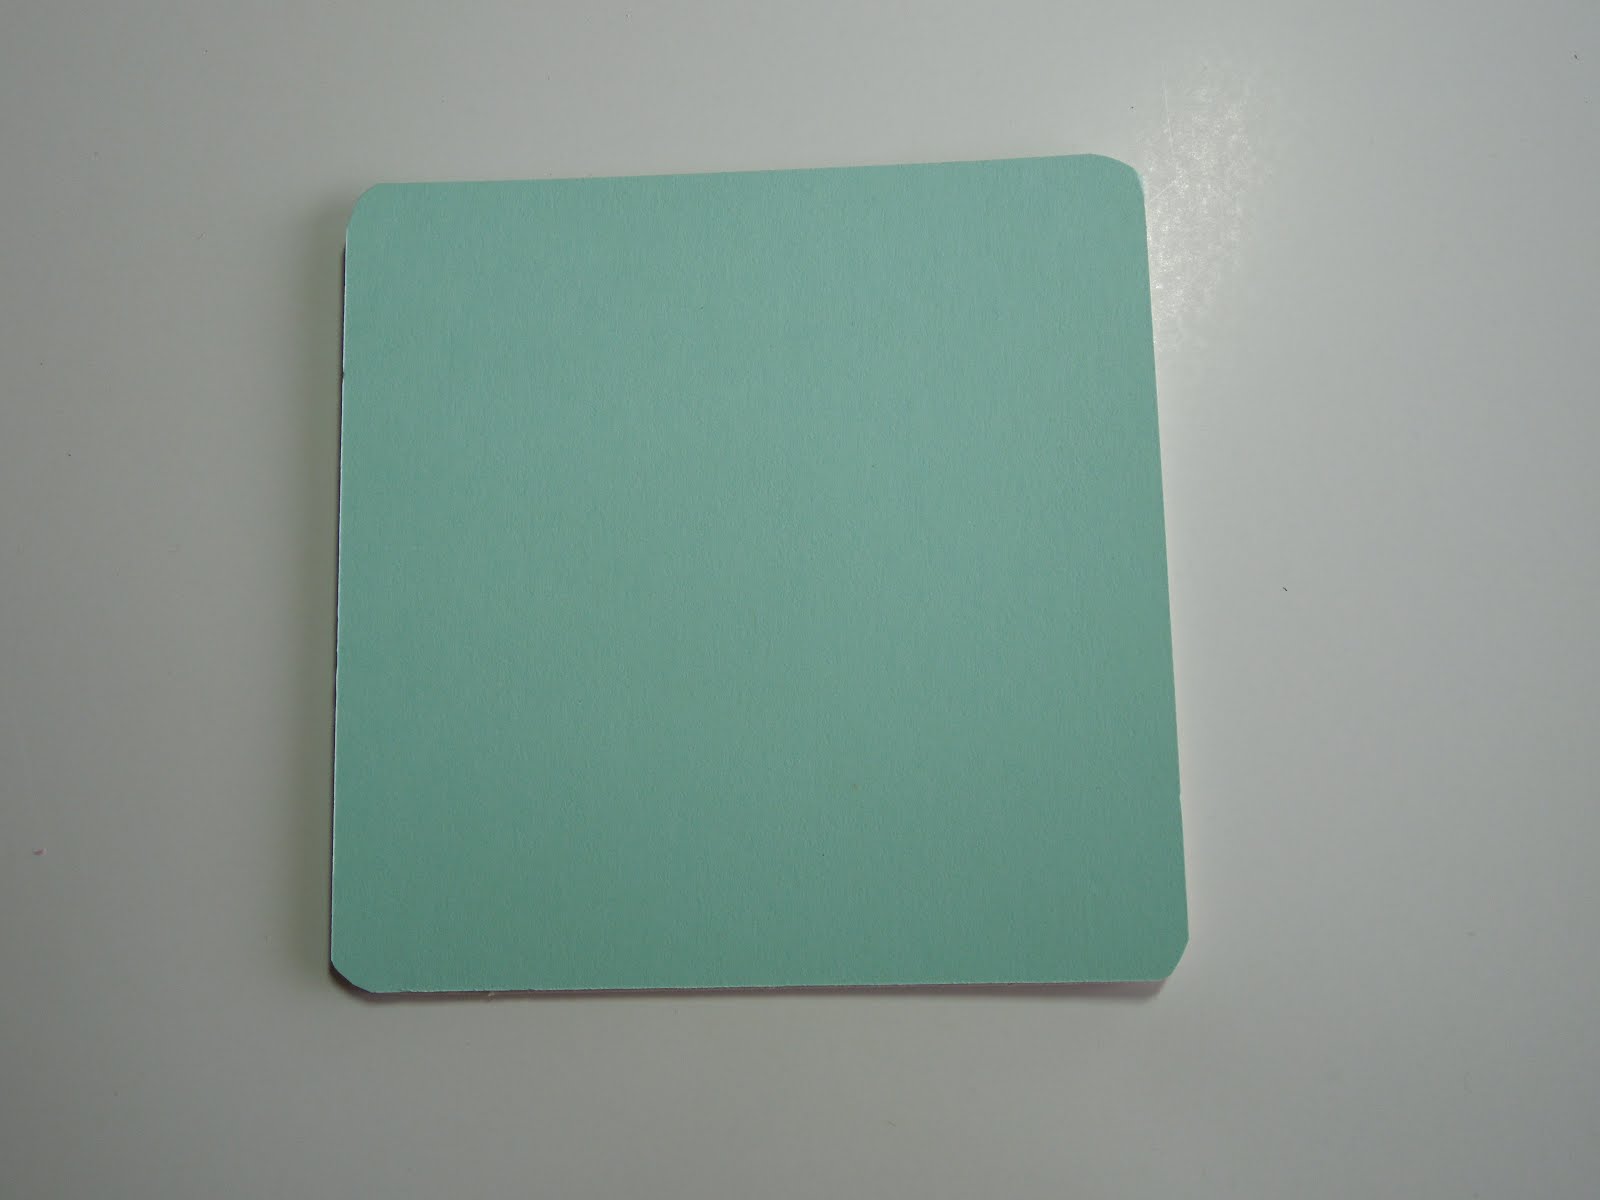
After I glued the cardstock on, I trimmed the edges.
I used the Oval Collection Framelits. The 3 smallest ones.
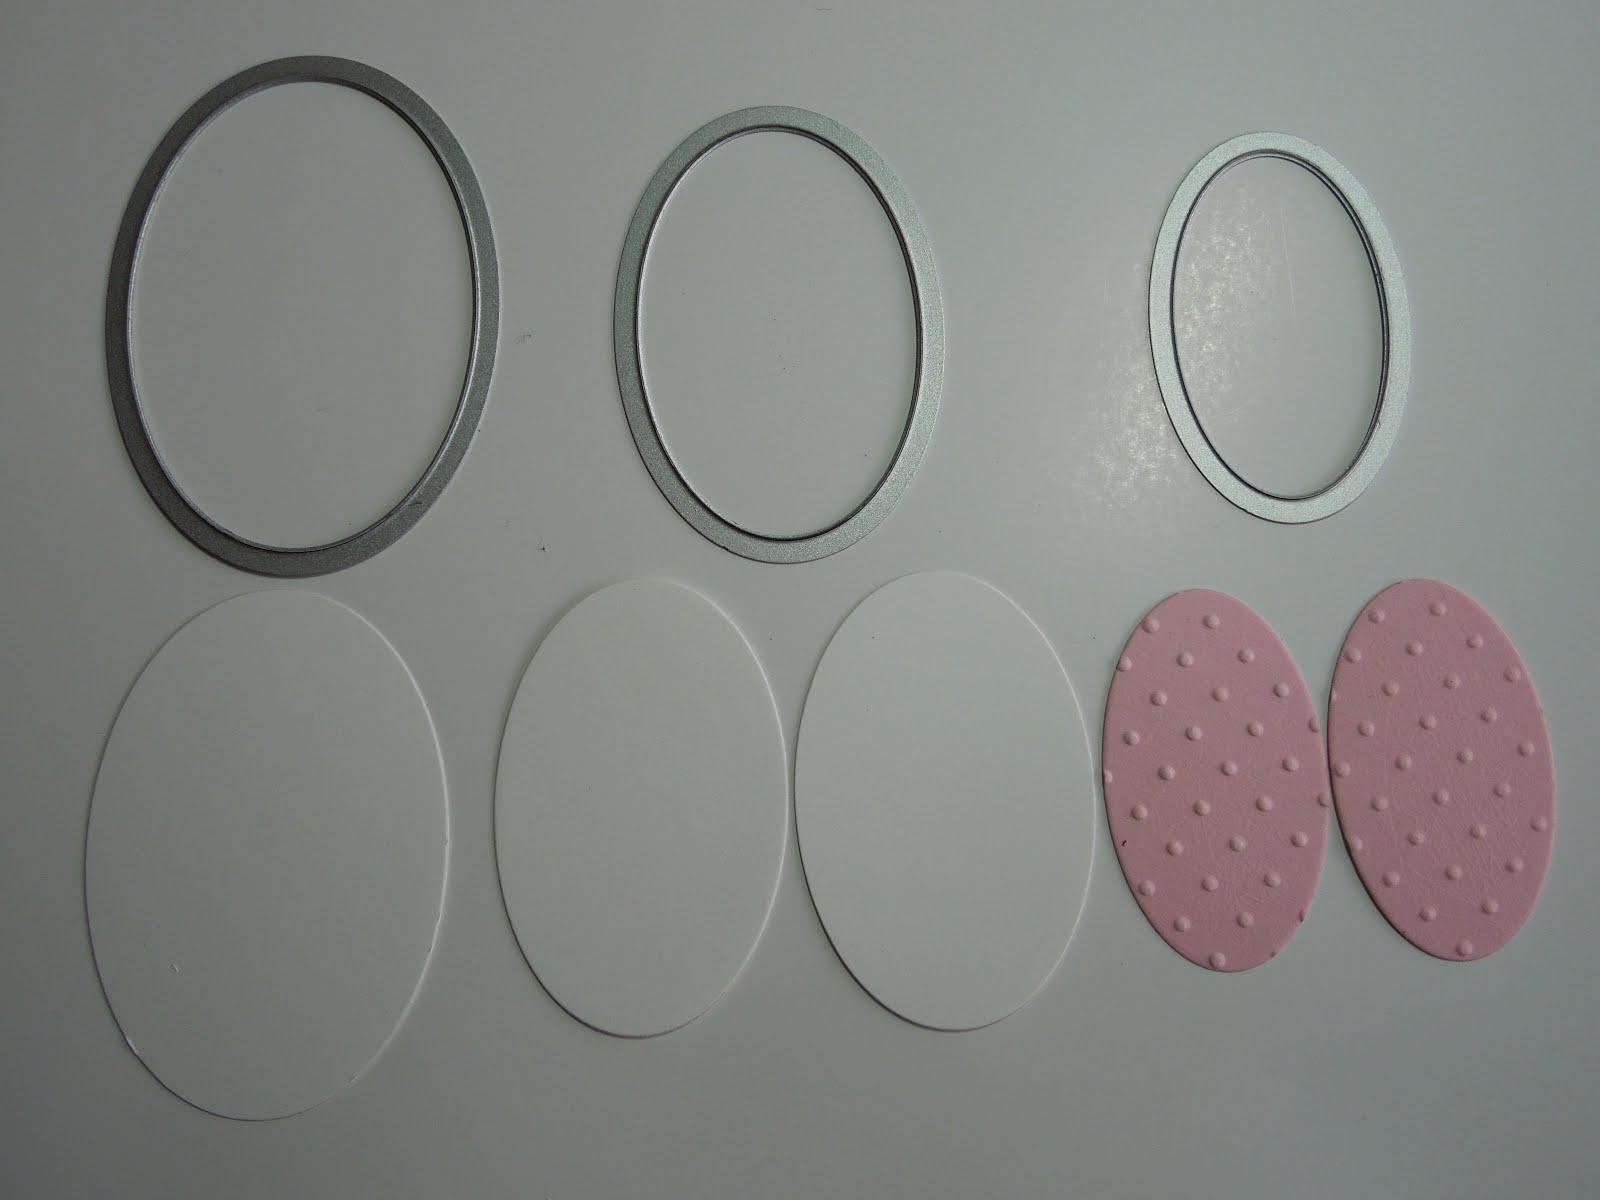

I ran the pink ovals through the Perfect Polka Dots Folder and then sponged in Prettty in Pink around the the edges.

Then glued the bunny face to the coaster making sure that part of the head and ears were just hanging off the coaster. I like that look, but some of you might not and she does fit directly on the coaster if you want to change it up.

This is what the back looks like before I cut off the pieces that hang over the edge.

Here is the back with one side cut off.

Here is the front with the pieces that I cut off and what she looks like before I start putting one her face.

Use the label punch and cut it in half. Then trim the little points so that they do not stick out when you place the words on top.

Stamp a sentiment on whisper white cardstock and punch with the decorative label punch. Sponge the edges.

Glue the pretty in pink cut pieces of decorative label on the sides behind the whisper white sentiment.

Start putting your face on! Punch a heart from the small heart punch and sponge it. Cut a dimensional in half and place behind the heart. Place the heart upside down for the nose. Sponge the cheeks. Then I just used the black marker for the eyes and white gel pen for the eye balls.

Voila, a bunny peeking out from the side! I think she is so cute. She really is easy to make. Now to make a boy bunny, a chocolate bunny and then of course some other spring time animals peeking out the side....like a duck, chick, etc. The possibilities are endless!
If you make any, please share on here! Enjoy!
My first real picturorial (is that a word?) and I really apologize for the different colors of fonts and all. It was not cooperating, but I figured getting up was more important than having all that perfect. I tried, but would not not underscore or change the color on some. Not sure why? I am not good at this, but am trying. I also know I put alot of steps for this simple project, but you never know if there are beginners or experienced crafters looking. So, better to have too many steps than not enough.
Ok, give me your feedback. Do you like it? Too long? How I can make it better? Tell me so I know what to do next or if even to make another tutorial???
Subscribe to:
Posts (Atom)